The Nuptial SXA Experiment - Part 2 (Milestone 1)

Our first milestone is to implement the Home Page with static HTML blocks. During this first effort, we will take care of the whole basic setup, from the installation, creation of Tenant and Site, adapting our Theme to our the existent Nuptial Bootstrap, along with some basic Partial Designs for the Header, Navigation, and Footer.
It should implement the markup and references found at the index.html file. The basic structure for Header, CSS and JS references and common tags under Body, should be implemented in a way that could be easily reused in other pages.
During this phase, all components will be handled as static HTML blocks, so they can later be replaced when applicable, by dynamic components.
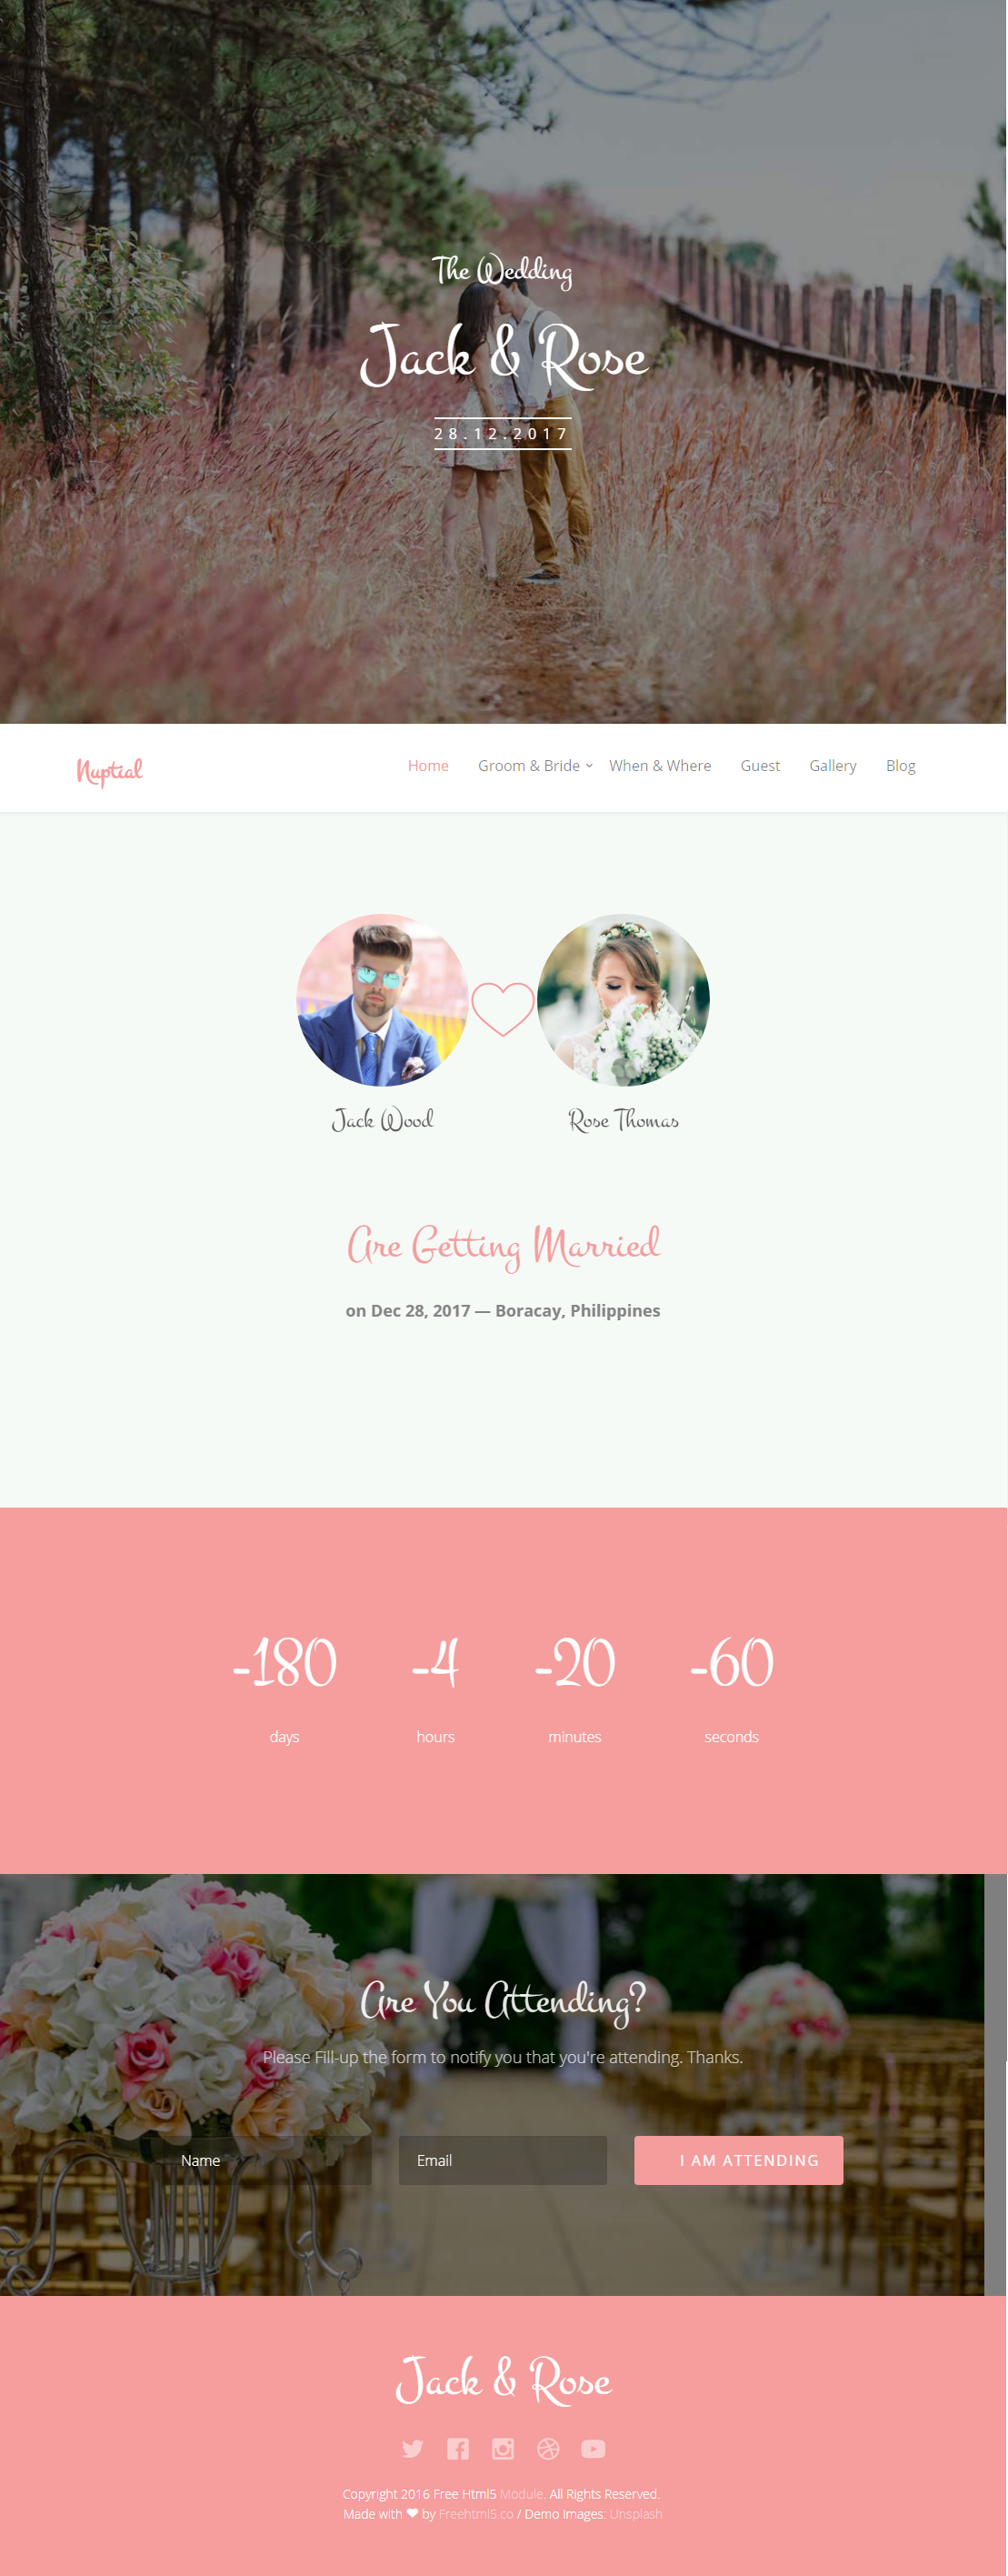
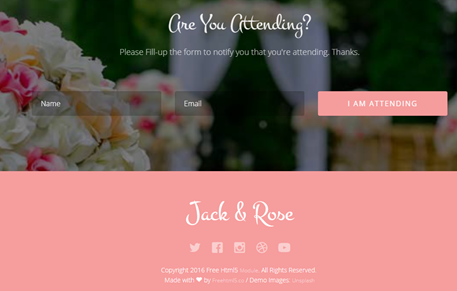
Below you a screenshot of the Homepage (click to enlarge)
Installation
Starting from scratch, this part is basically SXA installation and Setup:
- Install Sitecore 9 - the experiment was run with Update 1
- Install SPE - using Sitecore PowerShell Extensions-4.7.2 for Sitecore 8.zip
- Install SXA - using Sitecore Experience Accelerator 1.7 rev. 180410 for 9.0.zip
- Post-installation steps
- Publish
- Rebuild Link Index (Core and Master)
- Rebuild all indexes
- Deploy marketing definitions
- For development purposes, we Disabled Concatenation and Minify. In order to do that, we change Mode to Disabled on both:
- /sitecore/system/Settings/Foundation/Experience Accelerator/Theming/Optimiser/Scripts
- /sitecore/system/Settings/Foundation/Experience Accelerator/Theming/Optimiser/Styles
So now that we have an installation of SXA, let's get our hands into our implementation.
Create a new Grid System
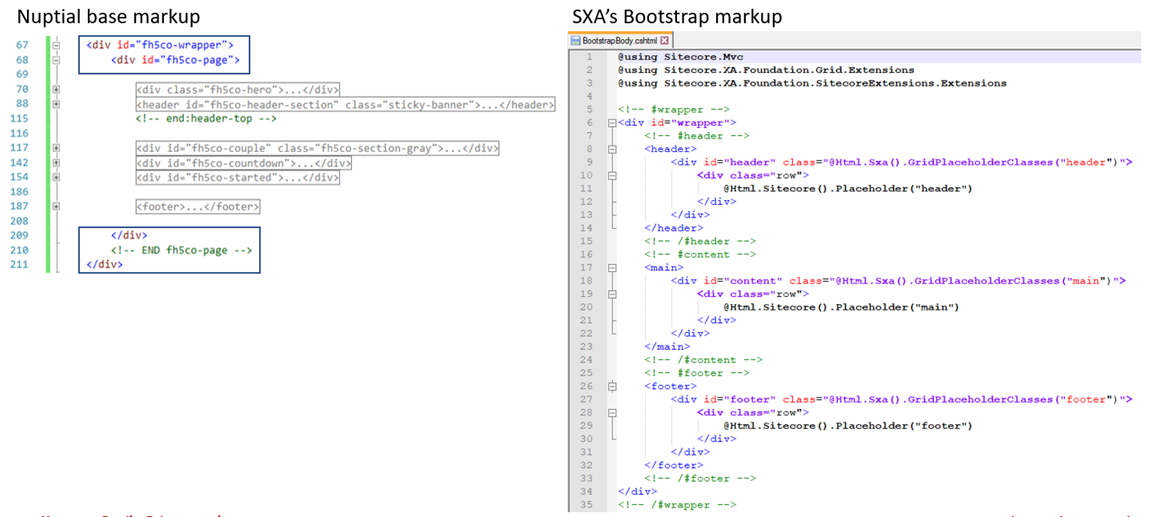
Unfortunately, we won't be able to use the SXA's Bootstrap Grid Definition to this exercise. Due to Nuptial's base markup particularities, such as a different wrapper ID, different disposition of header, footer and inner controls, we will create a customized version of SXA's Bootstrap Layout and implement our changes to a separated cshtml file.
But fortunately, this is peanuts with SXA. All we need is to follow these four easy steps:
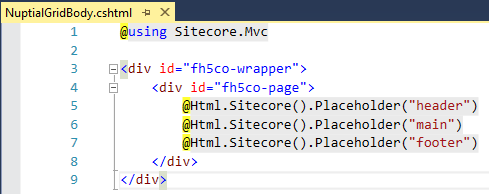
- Create Nuptial's Grid layout file NuptialGridBody.cshtml with this content:
- Create a new definition folder at the path /sitecore/system/Settings/Feature/Nuptial
We do that by copying the folder /sitecore/system/Settings/Feature/Experience Accelerator/Bootstrap
into /sitecore/system/Settings/Feature
renaming it, so we have:

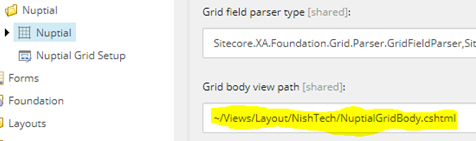
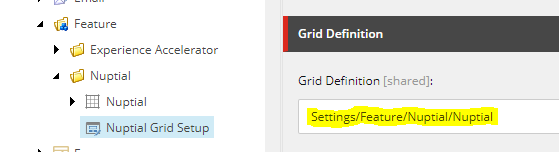
- At Nuptial's Grid Definition item (/sitecore/system/Settings/Feature/Nuptial/Nuptial) we point to our new layout file from step 1
- At the Grid Setup item (/sitecore/system/Settings/Feature/Nuptial/Nuptial Grid Setup) make sure to select the new Grid Definition item from step 3
And that's it! We have our custom Grid Definition, based on the native SXA Bootstrap but using custom markup and ready to be further customized when needed.
Create Tenant and Website
Like in any other SXA implementation, we will start by creating a site Tenant for Nuptial, along with a respective Website. This will prepare our setup for a single site, enabling the further creation of extra websites if needed.
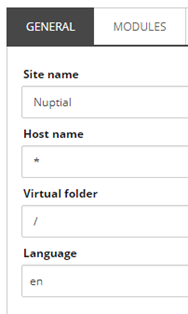
- Create a new Tenant (we will call it "NishTech") - Right click at the /sitecore/content node, select Insert > Tenant;
- At the General tab, fill up the Site name field with "Nuptial"
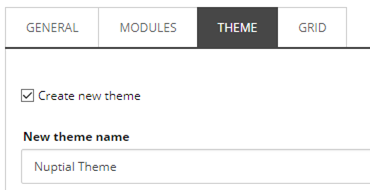
- At the Theme tab, make sure to tick the field Create a new theme and give the theme a name
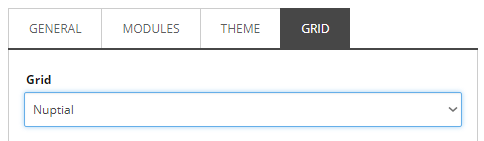
- Last but not least, at the Grid tab, we will select our newly created theme
Adjustments to the Theme
After our new Theme is created, we need to customize some things to make it match the Nuptial design. First, we need to upload the CSS and JS files, making sure they are sorted to match the order at the markup. This part is important because SXA will inject the files at that exact order, we want to respect this order so dependencies and overrides will correctly apply.
We will also adjust the Module Inheritance, removing unused modules to potentially get some better response times. Below is the list of modules we ended up with, but we can probably narrow it down a little bit more, removing some references to Maps and Search modules:
- Core Libraries
- Google Maps JS Connector
- Maps
- Search Theme
- Components Theme
- Resolve Conflicts
The Font Problem
At the Nuptial design, fonts are referenced from a CDN. This imposes a bit of complexity, as we need to decide how to manage them.
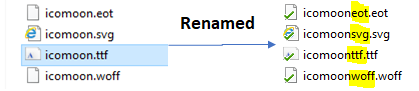
One possibility is to download these files from the CDN and upload them to the Nuptial Theme, but this is not trivial as it sounds. Remember that we have to upload these files to the Media Library? By default, when you upload a file, Sitecore will name the Item from the file name removing the file extension. If you upload two files named "icomoon.ttf" and "icomoon.svg", Sitecore will name both "icomoon" at the Content Tree. Serialization tools such as TDS would show them "Duplicated" and you won't be able to serialize them correctly.
Perhaps a quick fix for that would be renaming the files so they have different names, such as:
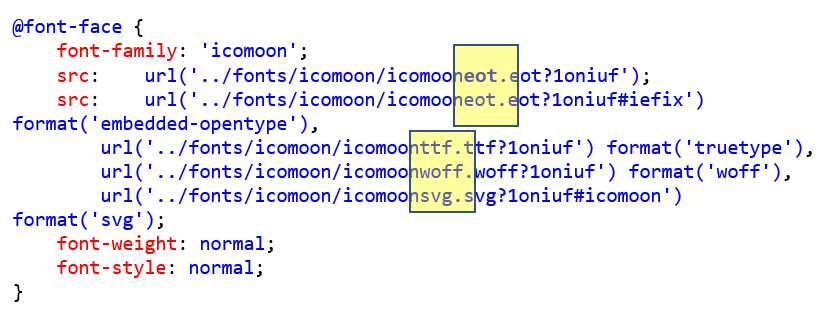
We would also be forced to update "icomoon.css" file references to the new file names, right?
What a mess... better pick another direction than uploading to the Nuptial Theme.
What if we create...
A New Page Layout
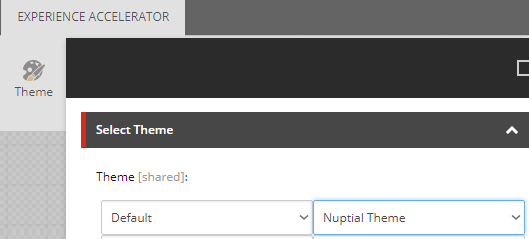
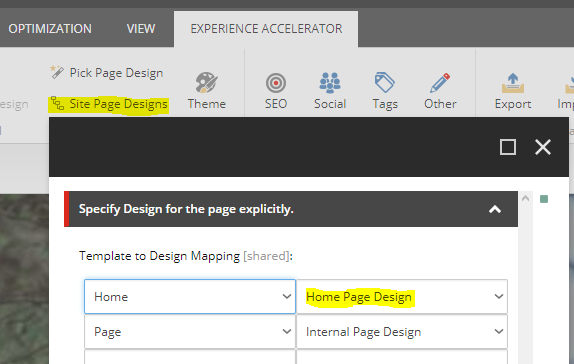
In this experiment, we will take our chances and have a customized Site Layout. In order to do that, we'll create a view file at /Views/Layout/NishTech/NuptialPageLayout.cshtml and a new Layout item (called "Nuptial Layout") pointing to our view file. We'll also need to update the Layout Details of our Home Template (/sitecore/templates/Project/NishTech/Home/__Standard Values) to make it use the new Nuptial Layout. Finally, we open the Home item in Experience Editor and select the Nuptial Theme for the website, as shown below:
The layout view file includes:
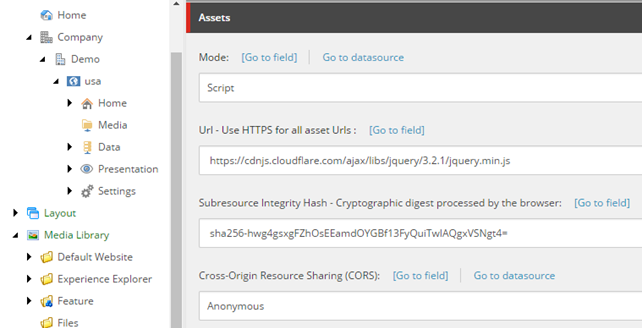
- External CDN references to avoid "The Font Problem";
- Specific Metadata and Page Title
This is just an experiment after all, right! :)
Alternatives to a New Site Layout

At the end of the experiment we could verify that IDEALLY, you should use the original SXA MVC Layout.
“You’re not supposed to do this way”
The experiment here takes a path that will later advise against. Bad decisions are sometimes the most important lessons. Being able to prove them wrong in a controlled, short-time experiment, is certainly a positive thing.
Lessons learned: always try to stick to the original SXA MVC Layout.
- Instead of hard-coding things in a custom Page Layout, you can always use the placeholder "head" to inject your stuff as components.
- For external references such as SDNs, you can use Westco SXA Extensions from Michael West, which allows SXA Themes to easily reference external files.
"Naked" Components
Recalling a very important requirement: we need to respect all markups from the Nuptial Template. A look at the SXA's components is enough to understand is that, even for basic components such as placeholder splitters, they always inject some markup that you can't customize. In order to circumvent that limitation, we will create a couple of customized components based on native SXA components. These versions will not inject any extra markup, making possible to stick to the Nuptial Layout.
Naked Plain HTML
A naked version of the /Page Content/Reusable Plain HTML component, this component allows the injection of arbitrary static HTML blocks without any extra surrounding markup.
After duplicating the original component, we need a few tricks so we can use it:
- Make the Rendering view path field point to our "naked" view:

- Because it has a view name hardcoded at the action, the field above will be ignored, and thus the original Controller cannot be used.
We have to create a new controller (Eg: Nuptial.Controllers.NakedPlainHtmlController) and setup it properly at the Rendering.
- Let's also add our new component to the site Available Renderings so it can be selected.

Naked Splitter
A naked version of the /Page Structure/Row Splitter component, allowing a placeholder to be split horizontally without injecting any extra surrounding markup.We need to adjust the Rendering view path to our custom view, but this time the original Controller is smart enough to pick it, so we don't have to implement our custom version of it. Once again, don't forget to add this component to the Available Renderings.
Reminder: duplicating component is bad
In the two cases above we have duplications of native SXA components, with the sole purpose of customizing their view files. However, this can be a bad idea as it increases duplicity, making maintenance harder.
There are better ways to inject a different View file into existing components other than duplicating them.
One good example can be found in this great article from Himadri Chakrabarti. Compatible with both SXA and native Sitecore, this solution allows the same component to use different view files, respecting the context website. View files are organized in separated folders, and a mechanism takes care to pick the site-specific view or falling back to the global view. You can also define a more complex theme chain for your website, enabling multiple levels of inheritance.
Good news: According to Adam Najmanowicz, the next SXA version 1.8 will have a similar mechanism Out-of-the-box, decreasing the need for duplications when you merely need a custom view.

Footer Partial Design
Taking advantage of the Partial Design feature from SXA, we are going to assemble our Footer block to be reused in different pages.
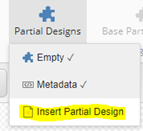
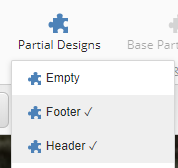
To create our Footer Partial Design, open the Home item in Experience Editor, switch to the Experience Accelerator tab and use the Partial Designs button:
Inside our Partial Design, we add two blocks using the component Naked Plain HTML. First comes the Attending Form, then the pink Footer block. We need them to be separated because we will later replace the pink block with a dynamic component.
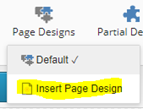
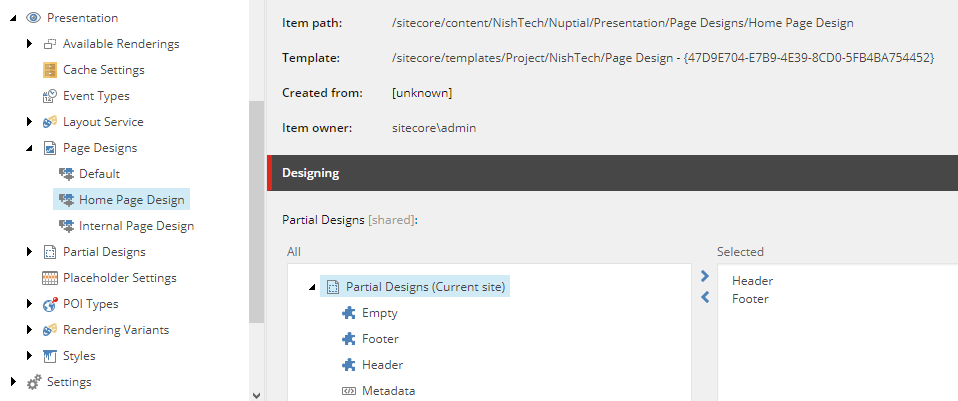
We still don't have a Page Design to use on our Homepage, so let's create one and name it "Home Page Design".
Make sure to map it to the Home page in Site Page Designs
When all your Partial Designs are in place, they can be selected on your Page Design, making easy to reuse these blocks directly from Experience Editor:
If you prefer to use the Content Editor, browse the Page Designs children nodes - In our experiment the full path is /sitecore/content/NishTech/Nuptial/Presentation/Page Designs
Header Partial Design
Using the same strategy we create the Header Partial Design. There is a little caveat here: the navigation block at the bottom part will be the same in all the pages, but the top banner will be different.

In order to achieve this behavior, we will use the Naked Splitter component and leave an empty placeholder at the top. If this is not followed, SXA will not allow that placeholder to be selected outside of the Partial Design, and we won't be able to add anything above the Partial Design.

Static Components at the Homepage
Now that we have Partial Designs for the Header and Footer blocks, let's build the rest of the Homepage using the Naked Plain HTML component.
Not much we have to do here, just make sure to add the following blocks to their respective placeholders, using the correct markup for each of them.
- Add the Hero Banner to the placeholder row-1-1

- Add the Countdown and the Couple blocks to the placeholder main


Layout Issues
When the first milestone was finished a small issue was noticed at the attending form block: the dark mask was missing and as a consequence, the background was not grayed out.
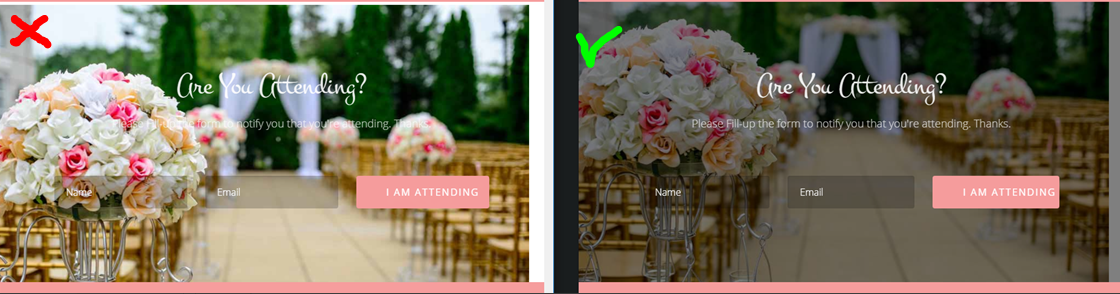
This issue was due to a class being overridden by one of the SXA CSS files.
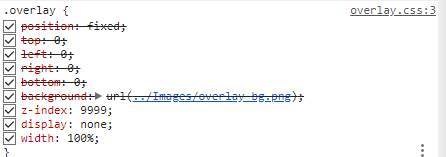
In order to fix this, we are going to disable the overlay.css file from Nuptial and stick with the SXA one. Set the following item as not publishable and publish our theme, and the issue will be gone.
/sitecore/media library/Themes/NishTech/Nuptial/Nuptial Theme/styles/overlay
We now have our Homepage working with static HTML blocks!