Improving a Component in Sitecore with SXA

At some point in the past, us Sitecore developers have had to think about custom components in SXA. Here is the real question, have you ever verified how some components are structured in SXA before implementing a new one?
Let’s say your client is asking for an image gallery with a list of thumbnails at the bottom of it. Can we do this improvement in a custom SXA component? The answer is: of course, we can!
But what about updating the existing SXA image gallery, and adding the new requirements requested by your client, without losing any configuration of the current component? Here is a new answer: SXA rendering variants.
Rendering variants introduced the possibility to have many ways to render your component, using the same view file (cshtml). In that way, we can build a title using the HTML H1 and the same title using the HTML SPAN. All this without touching any code. Let’s see how to achieve this.
Rendering Variants
“SXA comes with a set of default renderings and rendering variants. Rendering variants are configurable adaptations of the default renderings. To encourage reusability, designers and front-end developers can also create new rendering variants. This gives authors more options in the way they present their content.” – extracted from Sitecore documentation.
If you have no experience with SXA, before continuing this article, I suggest to you read the official Sitecore SXA documentation.
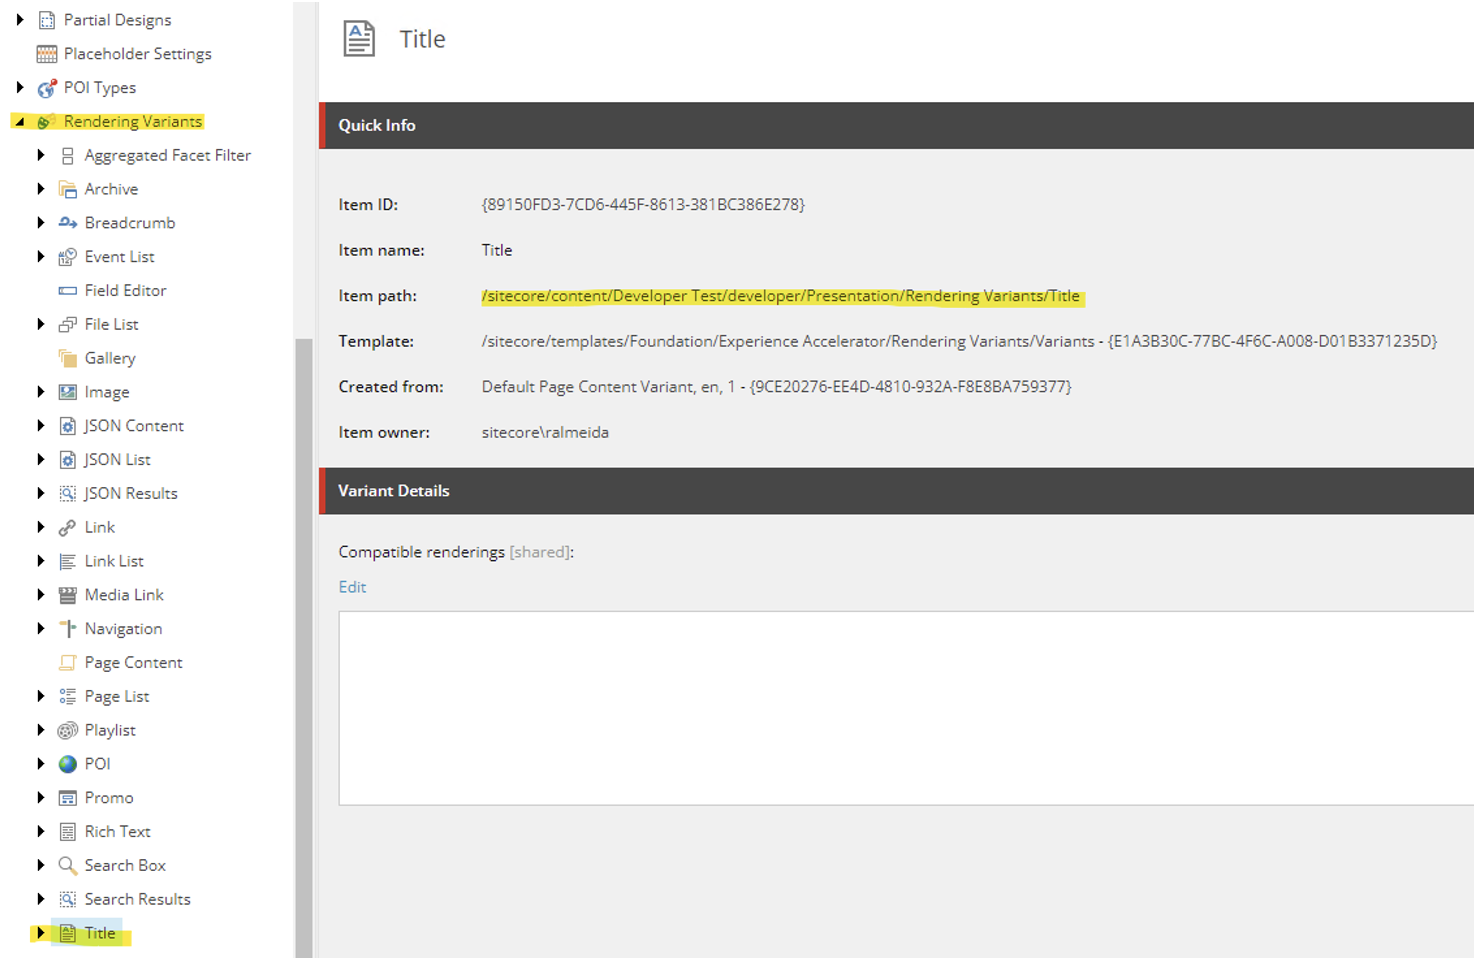
Rendering Variants is a feature that belongs to each Sitecore website, you can find the existing ones in the following path: /sitecore/content/[tenant folder]/[website]/Presentation/Rendering Variants
![Path: /sitecore/content/[tenant folder]/[website]/Presentation/Rendering Variants](/-/media/Images/Blog/Entries/2023/sxa-rendering-variants/01.png)
To make this article easier to understand, let’s use the Title component as our main example. This component renders the Page Title, just this. We are going to add more flexibility in the way this data is rendered by the Title component.
Find the Title rendering in the Renderings Variants folder.
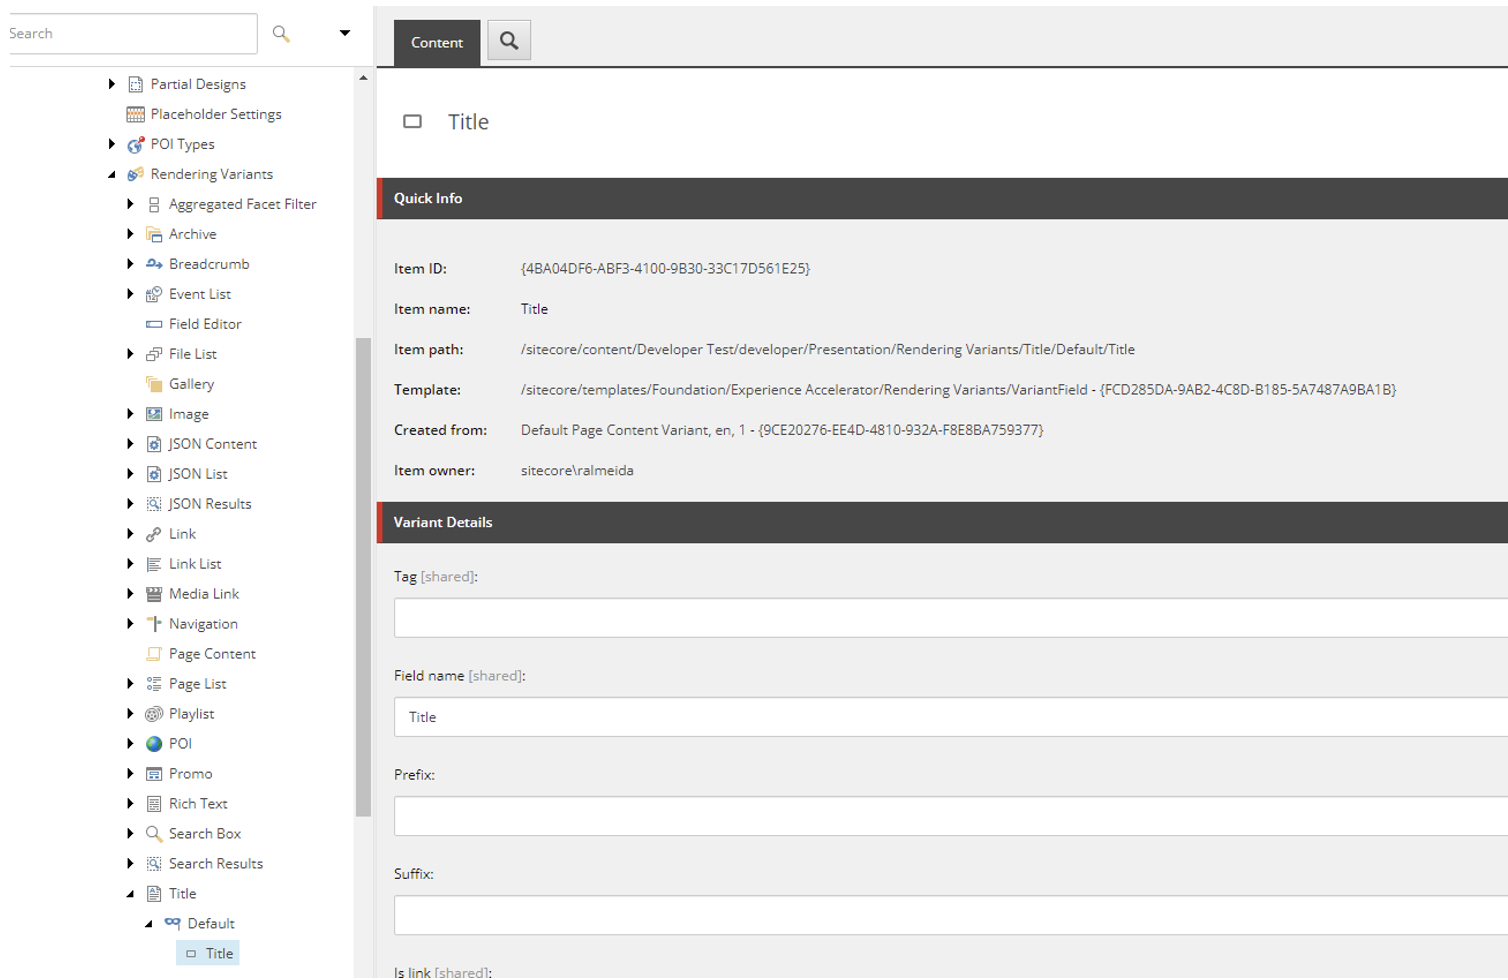
Expanding that node will display the default rendering variant to that component. Inside the default, you will notice only the rendering field, which takes the Sitecore page name and render it on the page.
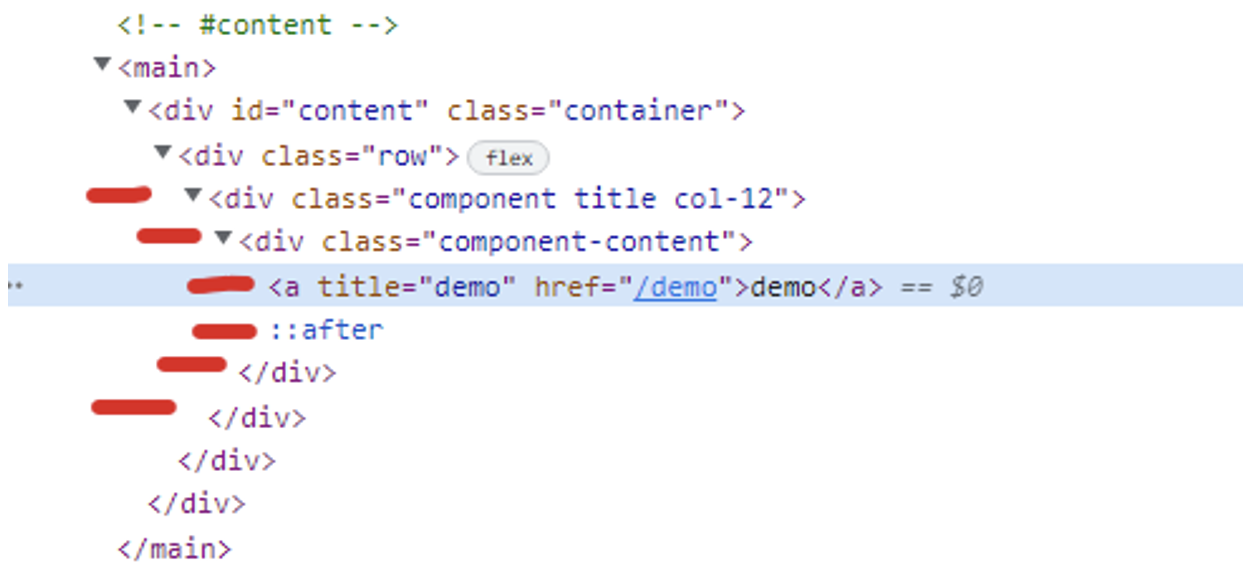
Using this component, here is how it renders on the page.
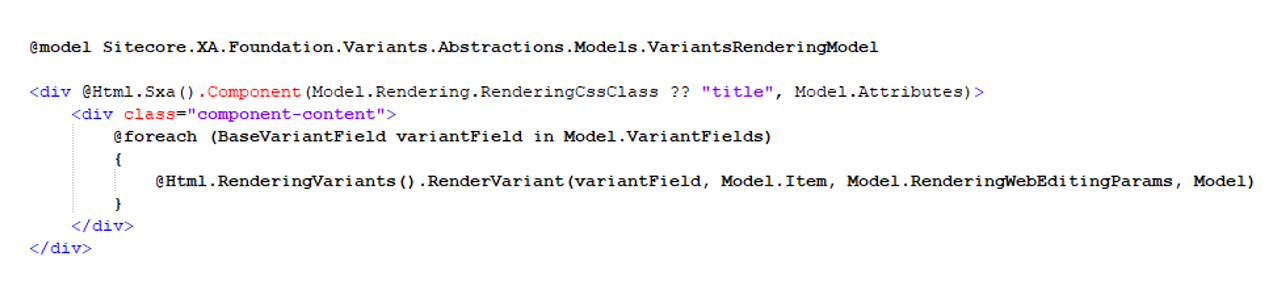
Looking at the CSHTML file of this view, you will notice only a loop inside the variant fields.
Defining New Rendering Variants
Well, your client is requesting to change this component. Instead of using an anchor, they want a SPAN. Let’s see how we can achieve this requirement. Go back to the default variant definition, and using the Sitecore menu, duplicate it, and give it a new name.

Now, open the Title item, in the tree, and find the field “Tag”. You will see that it’s empty. Click on that drop-down list and select the tag “SPAN”. This will tell Sitecore that it needs to render that field around a SPAN tag. Save your changes and publish all the new items you have created.
NOTE: Rendering Variants belong to the website presentation, you must publish your changes every time you want to see it live.
Let’s see how to switch between rendering variants. You can do the same change by Content Editor / Presentation / Details.
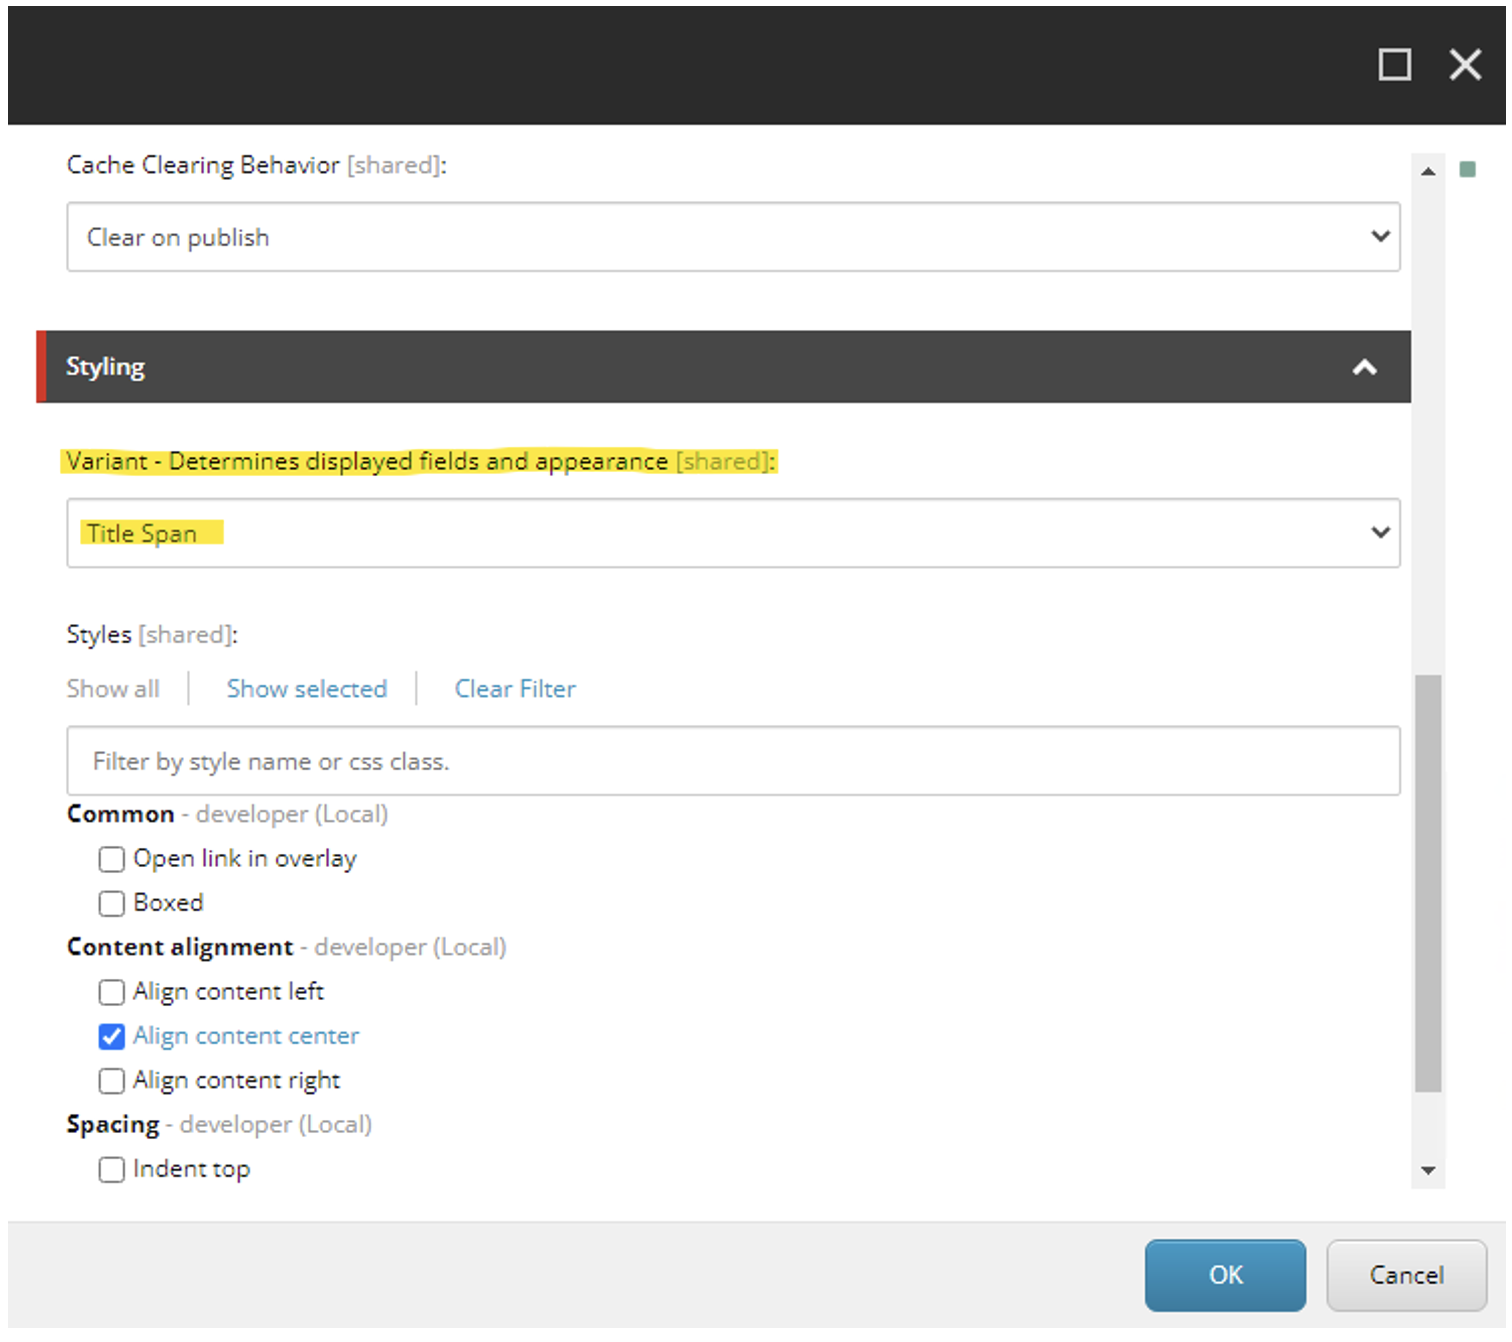
Open the page in the Experience Editor. Click on the title component, then click on the Styles button.

Scroll down until you see the Variant dropdown field. Select the new Variant you have created. Close this window and save the changes. The Experience Editor will refresh the page with the new changes. Save and publish the page.
Inspect the published page in the dev-tools and you will notice the anchor was replaced by the SPAN.
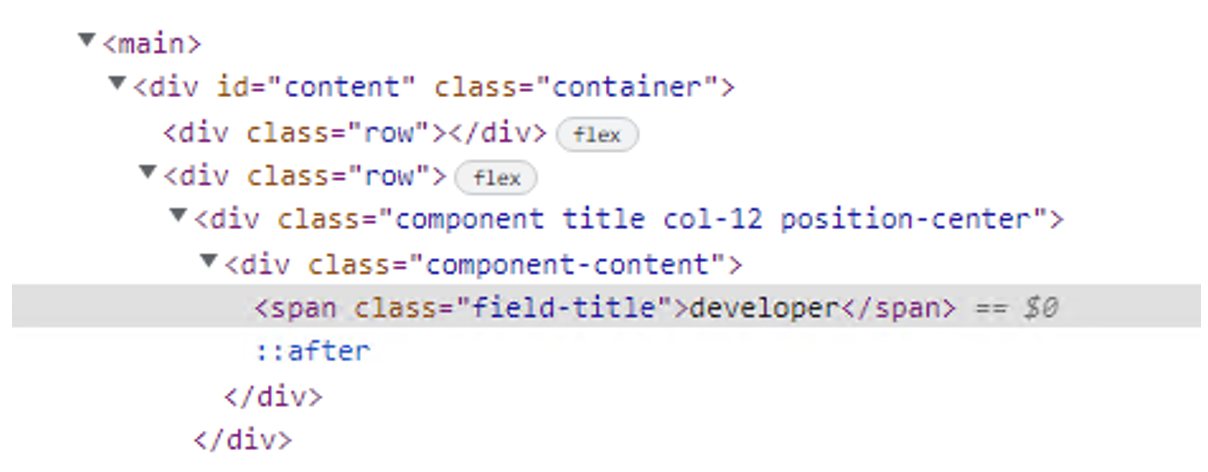
In this way, we were able to change how the component is rendered without touching its code.
Defining New Rendering Variants – Example 2
Let’s take another example of how to change the component structure. Your client now is asking to build a component where they can have an image on the left and the image caption on the right. In HTML/CSS this is quite simple, right? Let’s see how to achieve this through the SXA.
SXA uses bootstrap to define the component styles. This requirement will use some bootstrap classes and a view change, to achieve the main requirement (image on the left and caption on the right).
We are going to reuse the Image component, let’s duplicate its variant in the Content Editor.
We must have the following structure to achieve the main goal of this change:
container -> row -> col image | col caption
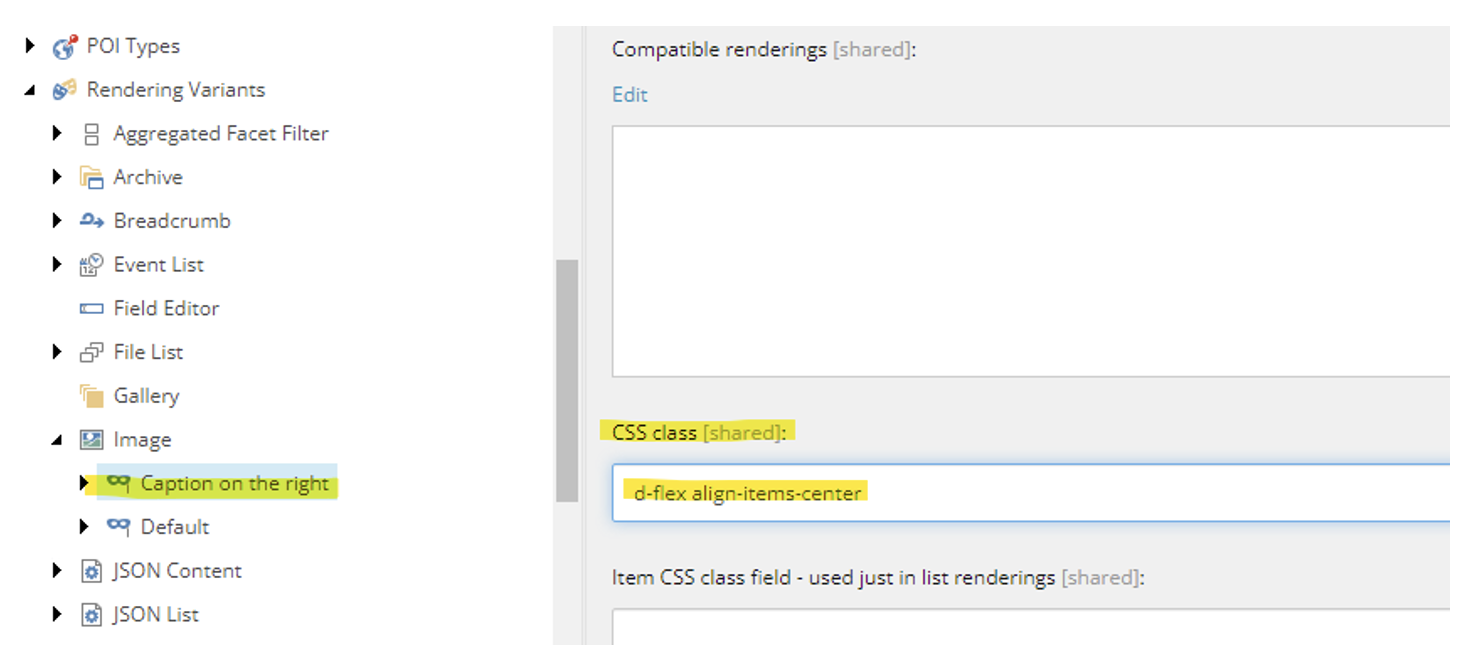
After the rendering variant duplication, scroll to the CSS class field and add the following classes:
d-flex align-items-center
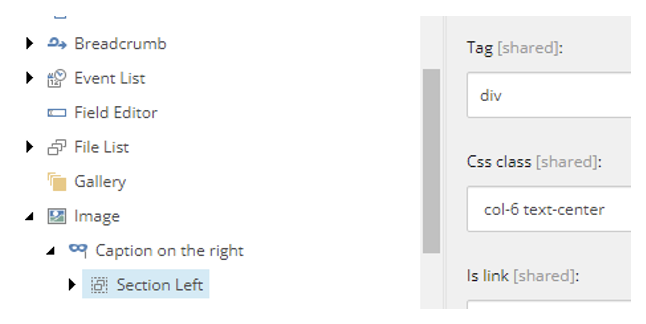
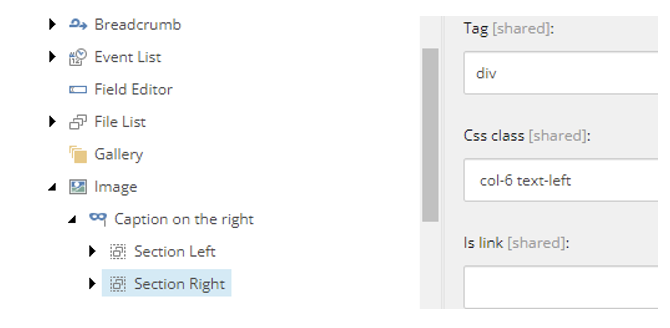
Now we need to add the two columns that will render the component content, we can use the Variant Section item here. Add 2 variant sections. To the left column, you can use the following classes: col-6 text-center. To the right column, you can use these: col-6 text-left.
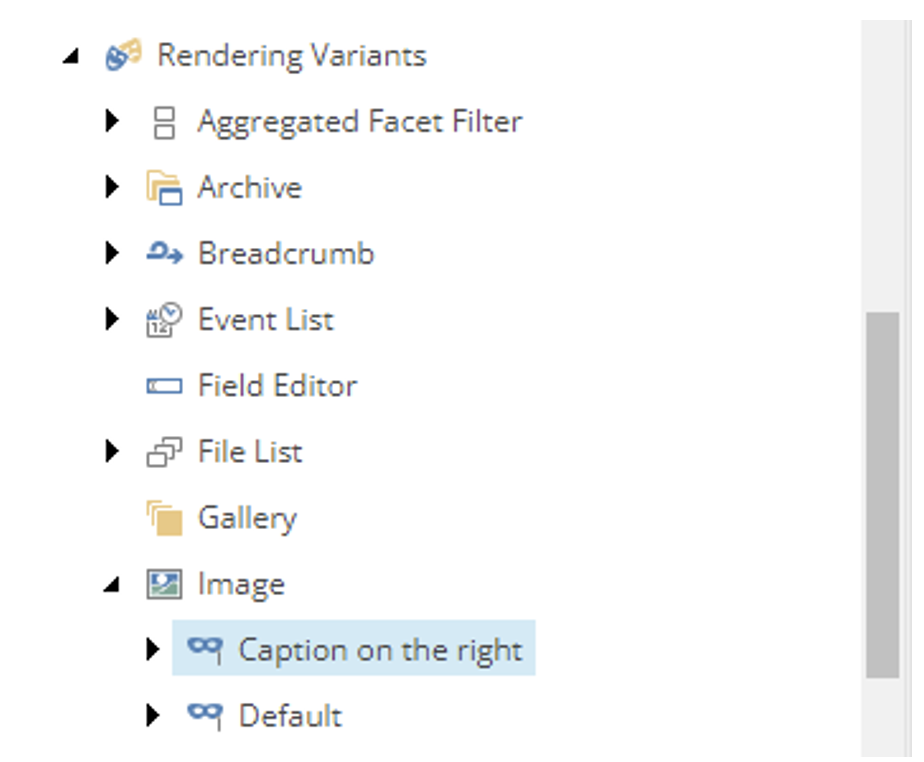
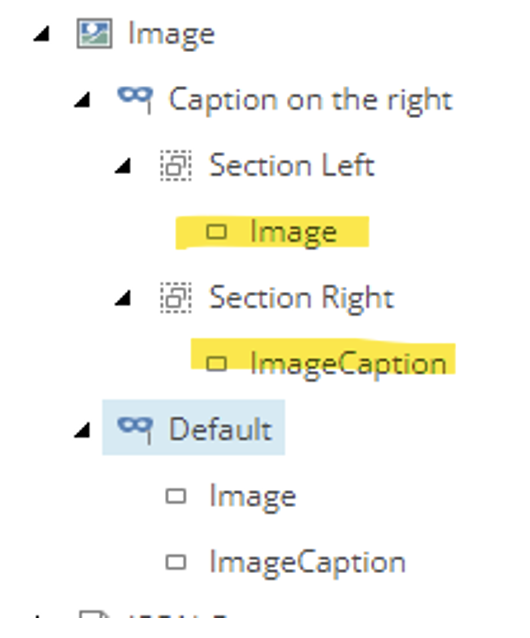
The default variant comes with Image and Image Caption definitions already. Drag the Image inside the left section, then drag the Image Caption inside the right section. You should end up like the image below.
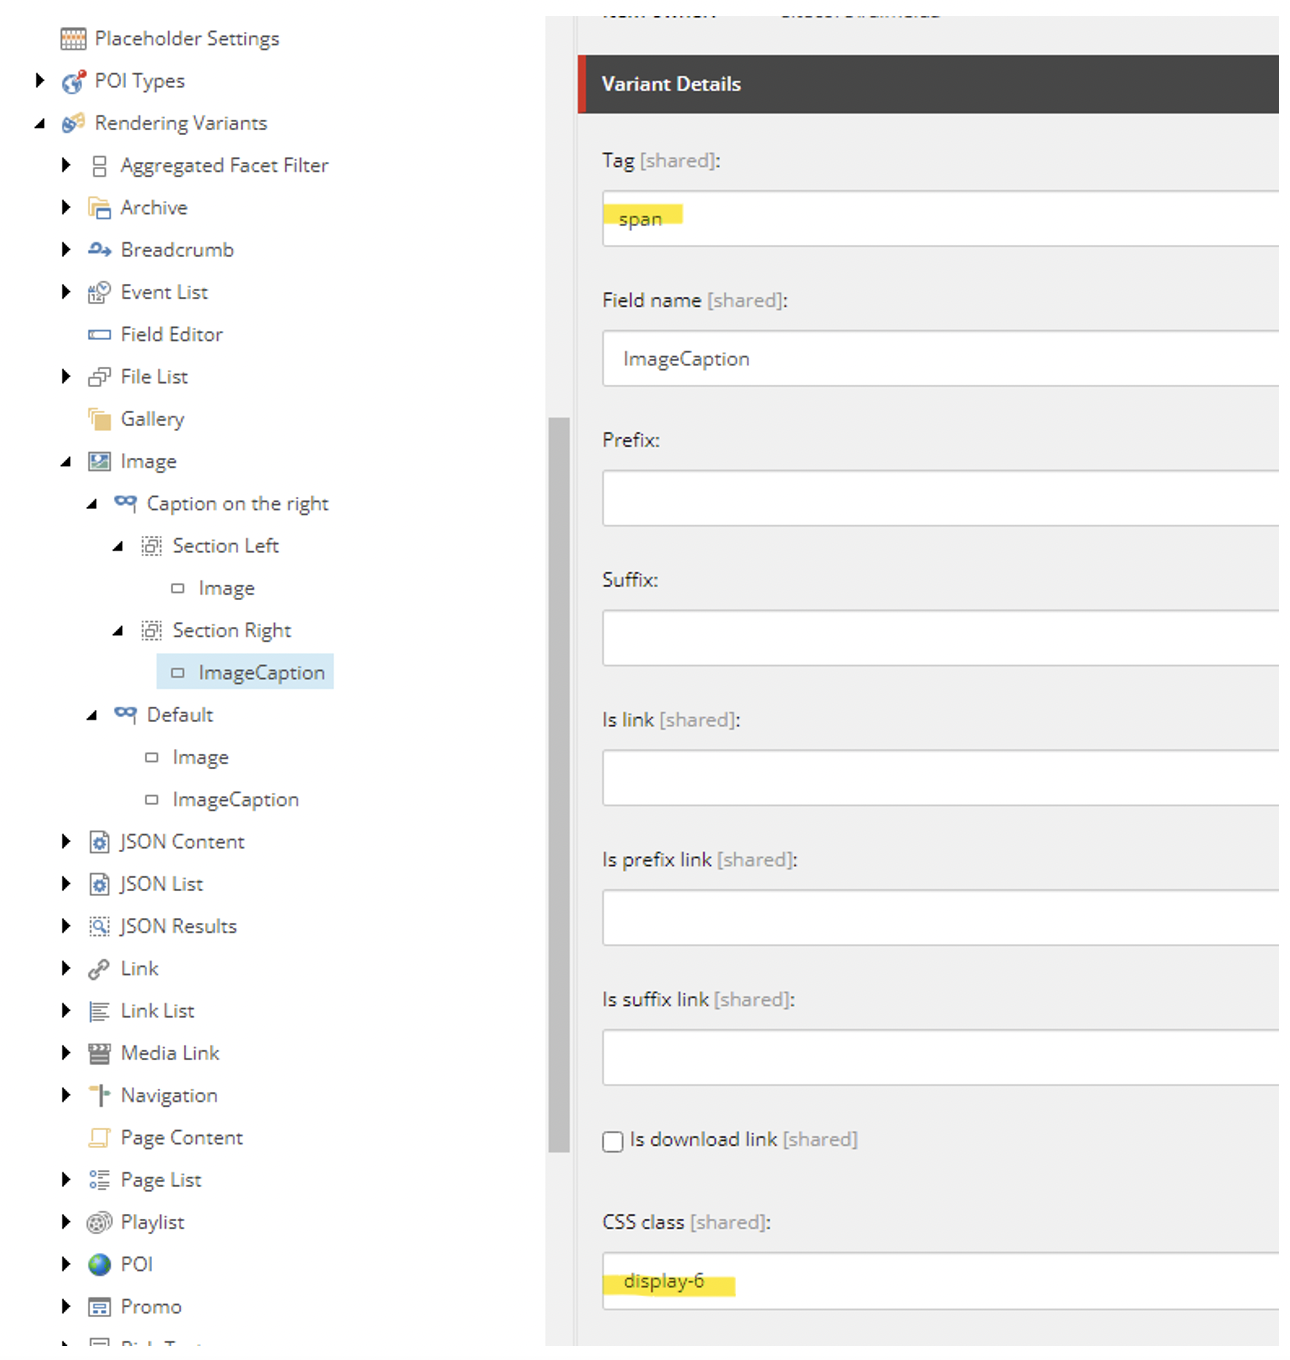
To the Image Caption item set the Tag field as SPAN and add the CSS Class “display-6”.
Publish all of these changes and check out how it’ll look on the page.
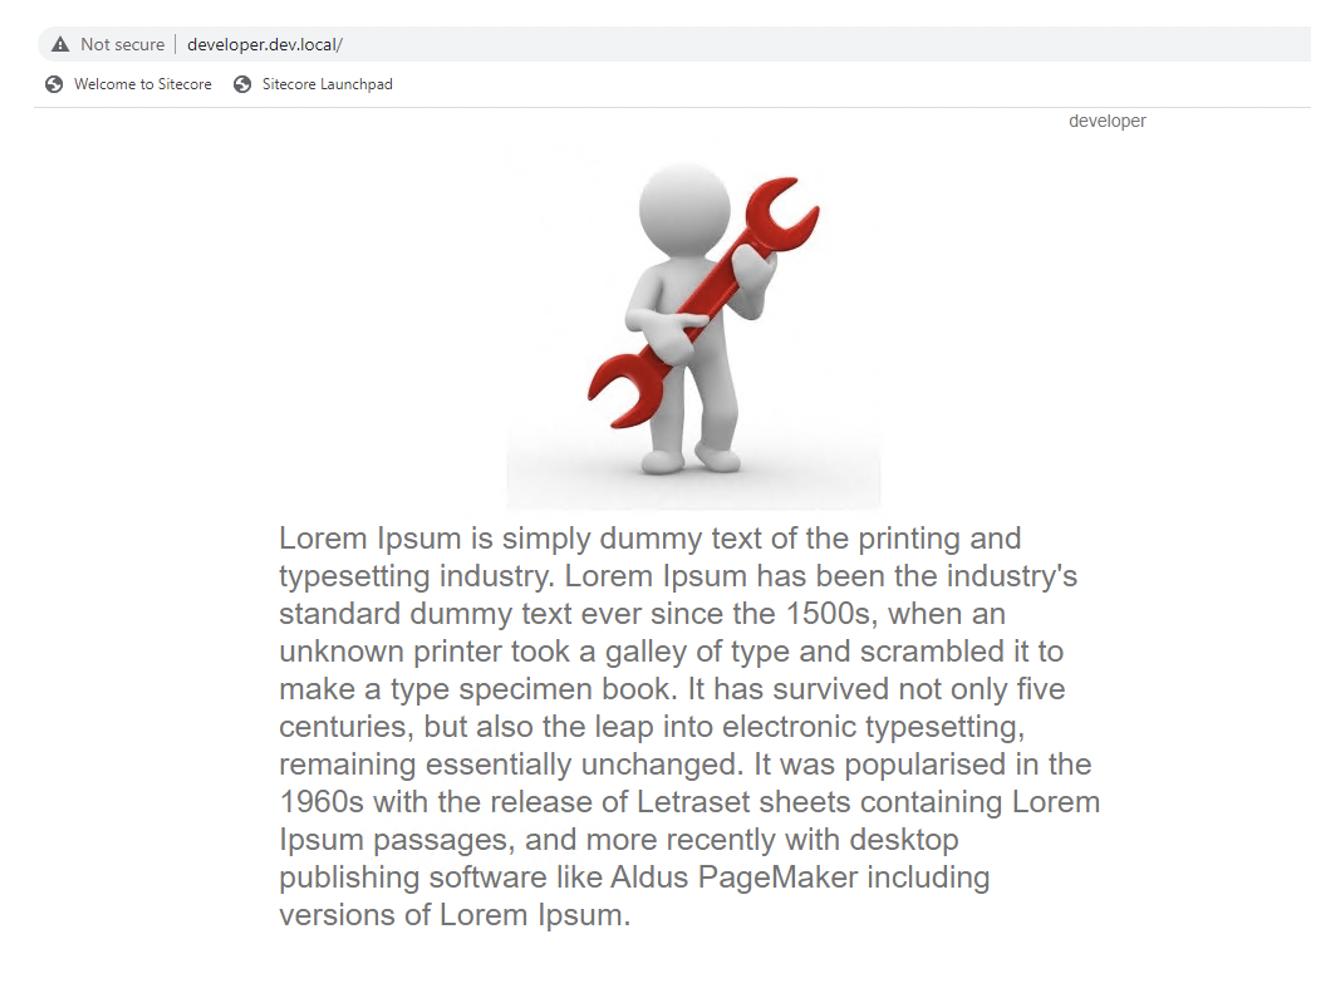
It still not showing the content side-by-side. Looking deeper, there is hard-coded DIV around the fields with the class “component-content”. Most of the SXA components will come with this code. If you open the Image.cshtml file, you will notice that div.
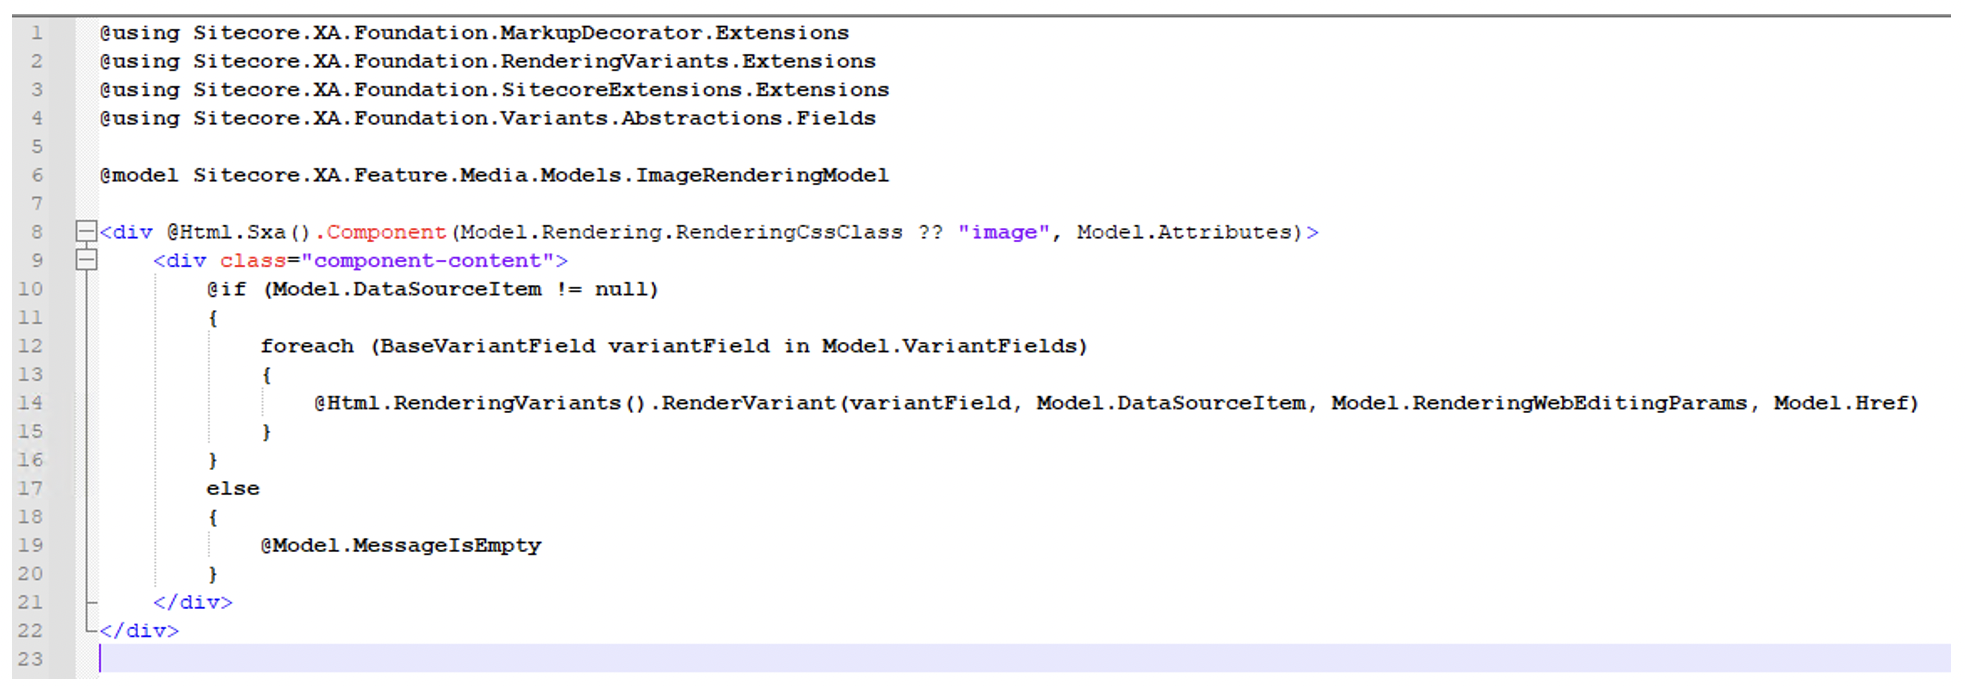
In this specific case, we need to update that view. Here you have 2 choices. You can create a new component “Custom Image” for example, or you can update the current one. I’ll let you decide which option you will follow. In both cases, remove that DIV with the class “component-content”, then refresh your page.
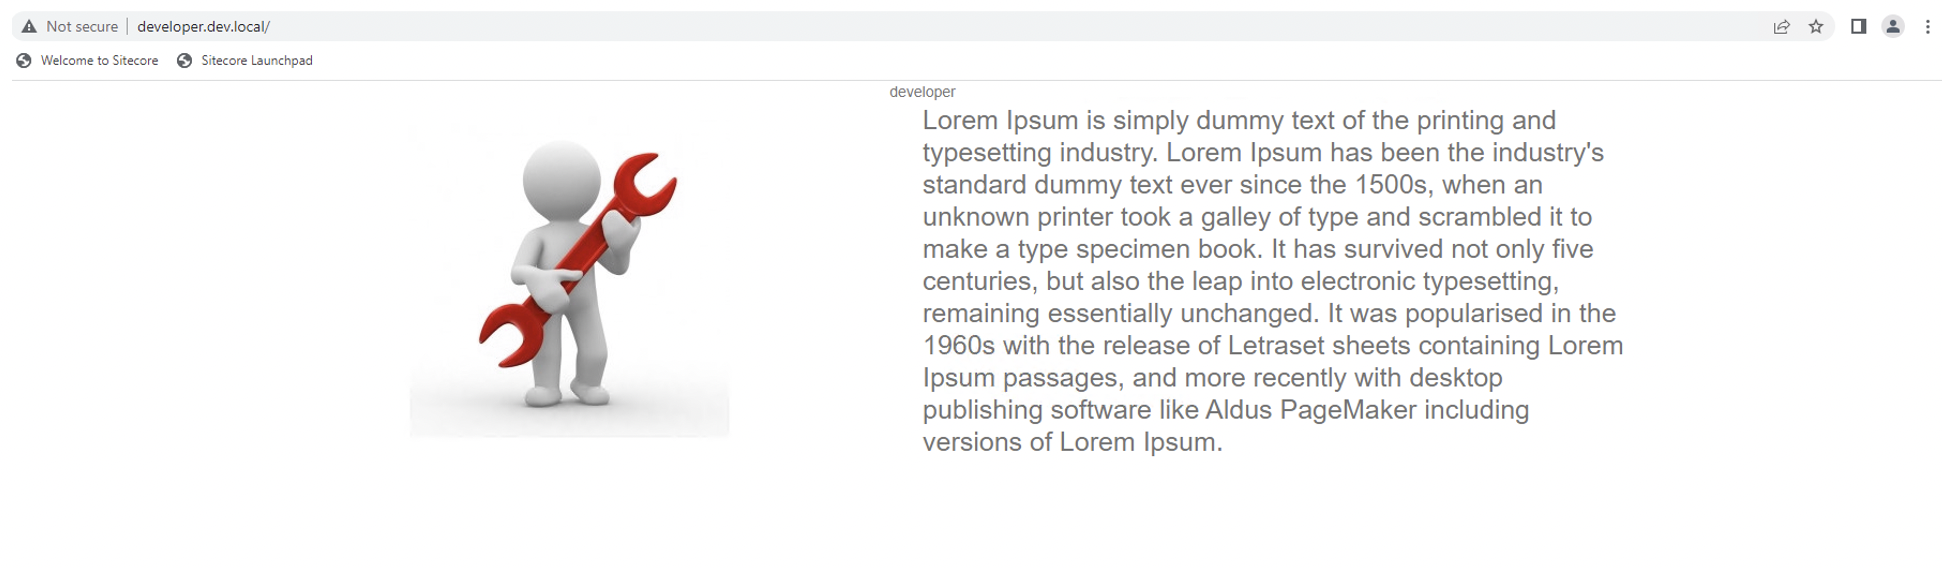
As you can see, with minimal effort you were able to build a new Rendering Variant for an existing SXA component. In my case, I removed that DIV. If I need it back in the feature, I can use the Variant Section to build it again.