A Better Approach at Carousel Management in Page Editor
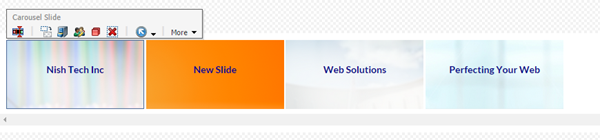
In Sitecore's Page Editor, it has always been a hassle to edit a carousel. Yes, you could have a user click through the carousel in Page Editor and change the text or image that way, but that isn't very user friendly. A different approach is to provide the content author a thumbnailed representation of the carousel.
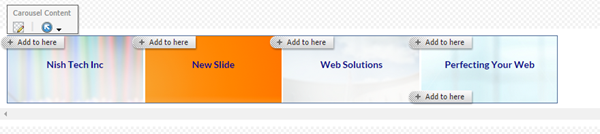
This allows the user to edit the slide in a friendly way. This is achieved by using a combination of css, a Custom Experience button, and an implementation where there is a main container rendering (with a placeholder "Carousel Content") and slide renderings.
With this implementation approach, this allows the user to use features like "move component" or add slides between other existing slides. It also gives a better visual on what order the slides will appear in the carousel. And, if the carousel has numerous slides, the scrollbar will become activated, and the user can scroll to the right or left to manage the slides.
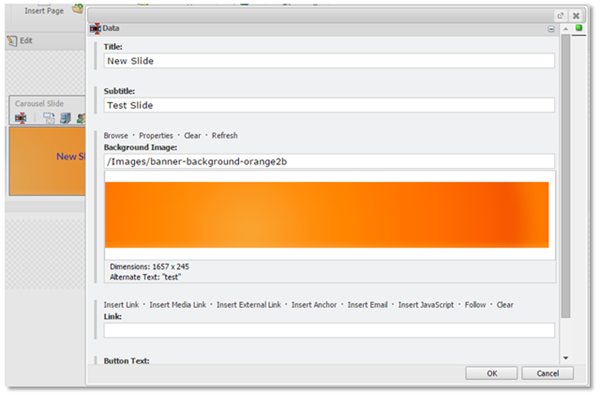
To edit the thumbnailed slide, just select a slide and click the Custom Experience Button.

To create this approach on your own solution, follow the steps below.
-
First, you would need to add a class to the <body> tag of the page when the user is in Page Editor mode. It can be a class like "page-editor" and it can be added in a way similar to below.

-
Now, you can add specifically targeted stylings for the Page Editor mode. Below is an example of how the stylings may look for a Bootstrap carousel.
body.page-editor .carousel { overflow-x: scroll; margin-bottom: 10px; } body.page-editor .carousel .carousel-indicators, body.page-editor .carousel .carousel-control { display: none; } body.page-editor .carousel .carousel-inner { white-space: nowrap; padding-bottom: 0; height: initial; padding: 10px; } body.page-editor .carousel .carousel-inner li { background-color: white; display: inline-block; width: 200px; height: 100px; position: relative; } body.page-editor .carousel .carousel-inner li h2 { font-size: 14px; } body.page-editor .carousel .carousel-inner li .content { padding: 0 5px; } body.page-editor .carousel .carousel-inner p, body.page-editor .carousel .carousel-inner .btn { display: none; } -
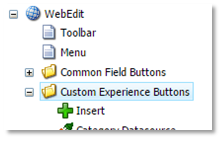
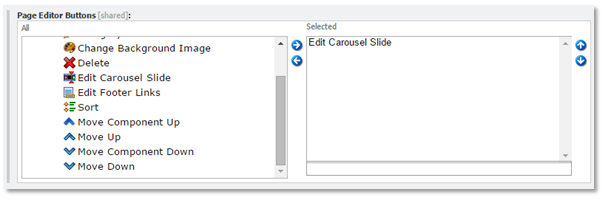
After the stylings are applied, all you need to do is add a Custom Experience Button to the slides. But first, you need to create it. It can be created in the Core database in the folder "/sitecore/content/Applications/WebEdit/Custom Experience Buttons."
-
Insert a new item with the template "/sitecore/templates/System/WebEdit/Field Editor Button"
-
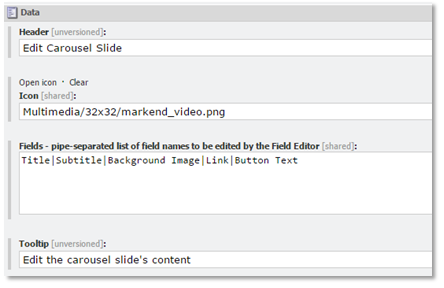
For the new item, set the header, icon, fields, and tooltip. Below is the example of the carousel slide button.
-
Afterwards, add this new Custom Experience Button to the carousel slide renderings.
-
Now, when the content author is in Page Editor mode, the slide that they select will have the custom experience button on the left in the toolbar.
-
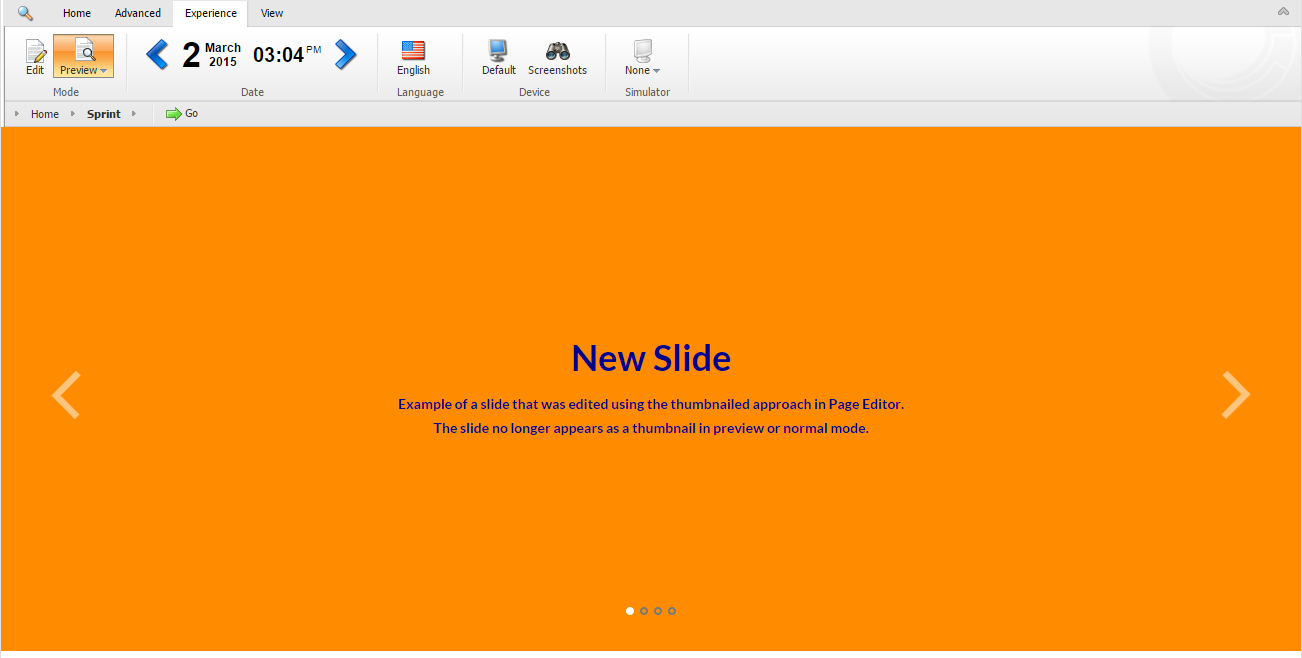
In preview or normal mode, the slideshow will not show in the thumbnailed view.
Questions? Comments? Suggestions? Please don't forget to post them below.